Update Drupal Field Settings For Fields With Data In Database
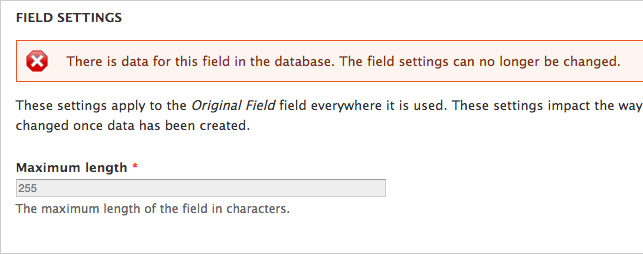
Sometimes you need to edit a field’s configuration once there is already data store in the database for this field. If you try to do this, you’ll get the following message.
There is data for this field in the database. The field settings can no longer be changed.
In this tutorial, we’ll work through this issue by following these steps.
- Create a new field that satisfies our needs.
- Export all the data from the original field that we no longer can edit.
- Import all the data from the original field to the new field.
- Delete the original field.
Create New Field To Migrate Data To
Because there is already data in the affected field, you can no longer edit the field settings. In our case, we are looking to update the widget from a text widget to a text area.
In this tutorial we will be moving from the original field (text) to a new field (text area). I will refer to these fields as original field and new field moving forward. Note that this is a fairly simply example because the data stored in the original field will map easily to the new field since they are both text fields. However, the same principles used in this tutorial could apply to updating any number of field settings.
For example, you may look to turn a date field into a repeating date field.
Export Data From Field
- Install and enable Views data export and dependencies
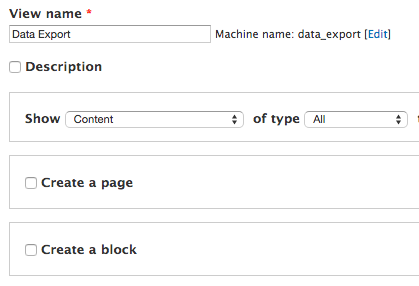
- Create a new view by navigating to admin/structure/views
 Click to expand
- Configure the view using the following parameters:
Show = Content Of Type = All Sorted by = Newest First Create a page = Unchecked Create a block = Unchecked
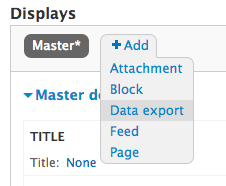
- Add a new Data export display
 Click to expand
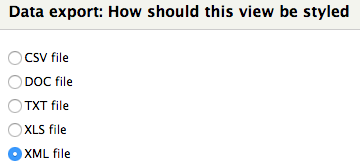
- Under Data export: How should this view be styled select XML File
 Click to expand
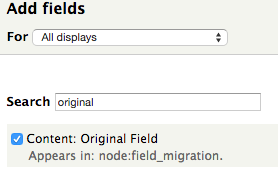
- Add the original field you wish to export to the view
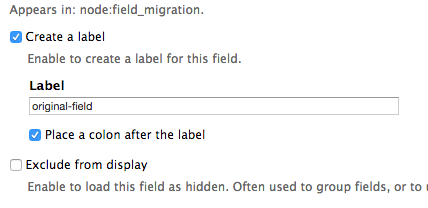
- Make sure to create a label for the field. Preferably all lowercase with no spaces. I used original-field
 Click to expand
 Click to expand
- Make sure to create a label for the field. Preferably all lowercase with no spaces. I used original-field
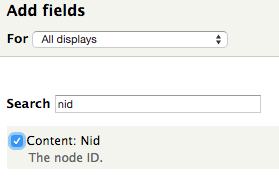
- Under Fields, also add Content: Nid
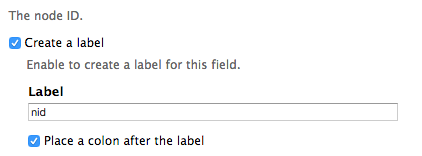
- Make sure to create a label for the field. Preferably all lowercase with no spaces. I used nid
 Click to expand
 Click to expand
- Make sure to create a label for the field. Preferably all lowercase with no spaces. I used nid
- Under DATA EXPORT SETTINGS configure the following:
-
Path =
/data-export - Permission = View published content
-
Path =
- Under PAGER configure the following:
- Items to display = Display all items
- Offset = 0
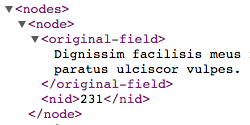
You should now have a feed that looks something like this:
Create Feed To Import Data From Original Field to New Field
- Install and enable Feeds extensible parsers and dependencies
- Create a new feed at admin/structure/feeds/create
- Under Basic settings configure the following:
- Attach to content type = Use standalone form
- Periodic import = Off
- Import on submission = Checked
- Under Fetcher select HTTP Fetcher
- Under HTTP Fetcher use the full path you created in step 8 for the Automatically add scheme under Advanced Settings In my case it’s http://demo.field-migration/data-export
- Under Parser select XML Xpath parser
- Under XML Xpath parser configure the following. Note that original-field and nid are the names of the labled I used in steps 6.1 and 7.1
- NAME = VALUE
-
Context =
//node - original-field = original-field
- nid = nid
- Under Processor select Node processor
- Under Node processor selected the content type that stores the original field, and the new field you wish to map to. Make sure to configure the following:
- Update existing nodes = Update existing nodes
- Under Node processor configure the following. Note that your field names will differ. The import thing is to map your original field to the new field, and use the nid as a way to make mapping unique.
| SOURCE | TARGET | TARGET CONFIGURATION |
|---|---|---|
| original-field (original_field) | New Field (field_new_field) | Text format: Filtered HTML |
| nid (nid) | Node ID (nid) | Used as unique enabled |
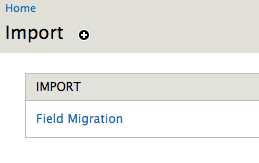
- Now go to the feeds importer page (/import) and select the feeds importer you just created.
 Click to expand
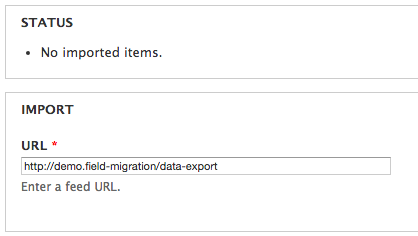
- Once on the import page make sure your source URL goes to the XML feed we created earlier. Click submit.
 Click to expand
Navigate to an updated node to confirm the data mapped correctly.
Delete Original Field
Now that we’ve successfully mapped data from the original field to the new field, we can delete the original field.
- Navigate to the Field list at the following URLs.
-
admin/reports/fields
 Click to expand
-
admin/reports/fields/views-fields
 Click to expand
-
admin/reports/fields
- Look for any instance of the original field being used in content types and views (Note that since we are using the original field in the XML feed, it will appear in at least one view). This is so we can make sure we note the consequences of deleting the originl field. Make sure you add the new field to all content types that contain the original field, and replace the new original field with the new field in all views.
- Make a backup of the site.
- Run the following drush command to delete the field: